The first step to include in an Engage campaign is an audience step to define who will be selected for the campaign.
Audience steps are associated with the color green, both in the menu and on the workspace.
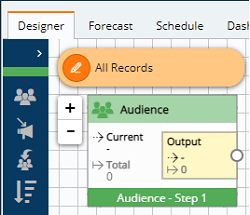
A campaign may contain multiple audience steps.
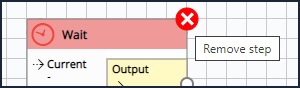
Note: to remove a step from a campaign, select the red X icon in the corner of the step.
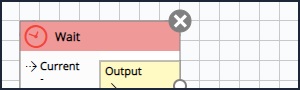
If the icon is grayed out, there is campaign history associated with the step that is preventing the step from being deleted.
There are four audience types to select from, depending on how you wish to pull individuals from your database into your campaign.
- Query audience - a group of individuals selected by a query.
- Linked audience - a set of individuals determined by the processing in another campaign, e.g. you may have one campaign that splits the audience into two groups and passes one of the groups to another campaign.
- Implied audience - allows you to include individuals who may not meet the initial criteria for selection, but have a specific behavior that qualifies them for inclusion, e.g. they used a promotional code shared from a friend to make a purchase, but they were not part of the original campaign communication.
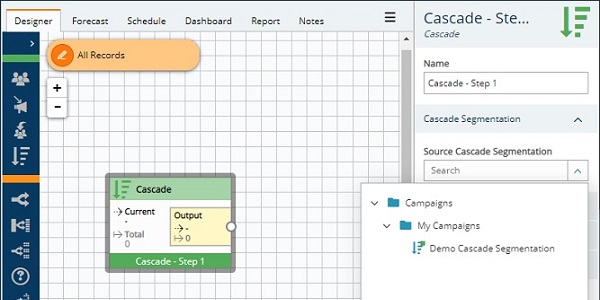
- Cascade audience - an optional module that allows you to create logic to select individuals based on a cascading set of criteria.
Query Audience
The most straightforward way to define an audience is by selecting individuals from your database using a query.
-
Drag-and-drop a query audience onto the canvas.
-
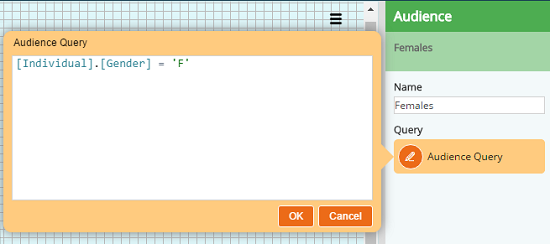
With the audience step selected, go to the properties pane and click the query icon to expand the input box.
-
Type a query or drag-and-drop a selection from your database, e.g. all individuals identified as female within the database.
-
Rename your audience step, if you wish, to make it easier to identify on the canvas.
Linked Audience
With campaign links you can push and pull data across two separate campaigns. This helps to streamline and intertwine multiple campaigns, and is the first stage in developing a full platform customer journey.
-
Open the campaign that will create your audience, e.g. a campaign that separates individuals that click a link in a promotional email from those who respond to a reminder email.
-
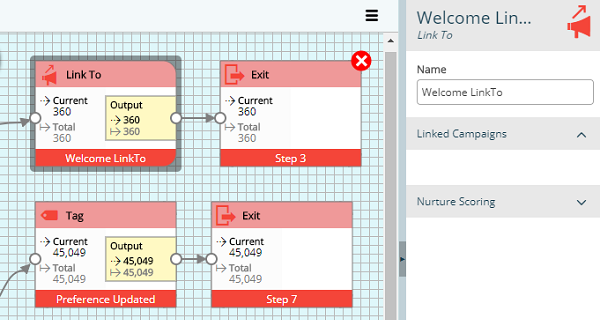
Add a link to step as an action for the selected individuals.
-
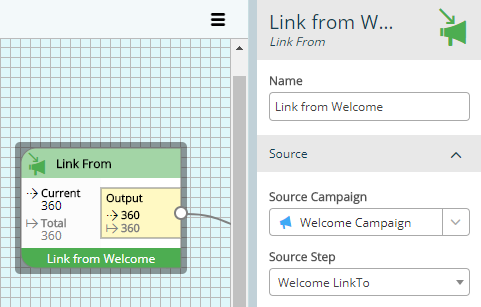
Open the campaign that will use the linked individuals and insert a link from audience step.
-
With the audience step selected, use the source campaign and source step dropdowns to select the campaign and step that contains your linked individuals.
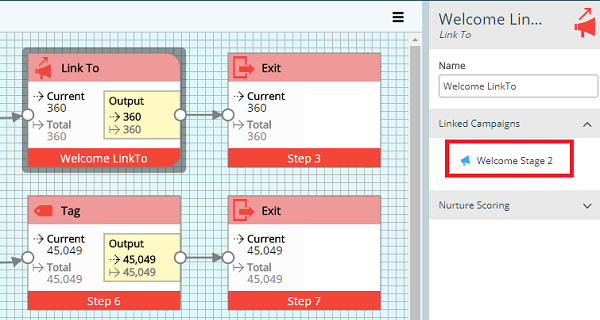
Note: you can confirm the link is working by returning to the original link to step. In the properties pane, under linked campaigns, you should see the name of the second campaign.
Implied Audience
The Implied Audience step allows known database contacts to be identified against a campaigns call to action without being selected within the original campaign audience criteria, e.g. a campaign has been executed, sending out a promotional discount code on our footwear line of products. The audience criteria for this campaign is anybody that has purchased a footwear product in the past 3 years. I would like to learn how many people, if any, have purchased footwear since this campaign quoting the promotional discount code yet were not included in the campaign audience defined.
To use the Implied Audience function:
-
Create the Campaign Audience and Communication Step, as usual.
-
Add a Response Step following the Communication Step that will deliver the promotional code.
-
Add an Implied Audience Step and connect it into the Communication Step.
-
Add a custom response and enter the criteria for a purchase attached to the promotional product.

The Implied Response criteria is linked to the Custom response option and can be used to track implied Opens, Clicks and Conversions as per the drop-down box below.

You can only have one Custom response type at a time so you need to add the first one, change the name from Custom to something else, then add the subsequent ones.
Cascade Audience
Note: The Cascade Segmentation step is enabled by licence so please ensure you request the module is enabled on first use.
Cascades enable campaign audiences to be filtered into individual communication outputs based on inclusion and exclusion query criteria. Prior to adding a cascade step to a campaign, you must first build the cascade segmentation.
With your cascade segmentation built:
-
Drag-and-drop a cascade audience step onto your canvas
-
Use the source cascade segmentation dropdown in the properties pane to navigate to and select your cascade segmentation.